
Here is a very quick tutorial for lining up the stamps in the Don't Forget to Write kit. I hope it helps some people who are having trouble with lining things up. I know it can be very frustrating to be unable to get one perfect flower cluster. This method may make things much easier, not only for this particular set, but for other sets as well.
Place a negative die space in your MISTI. It's important to use a straight piece of paper so you can line up your corners again if the paper moves.
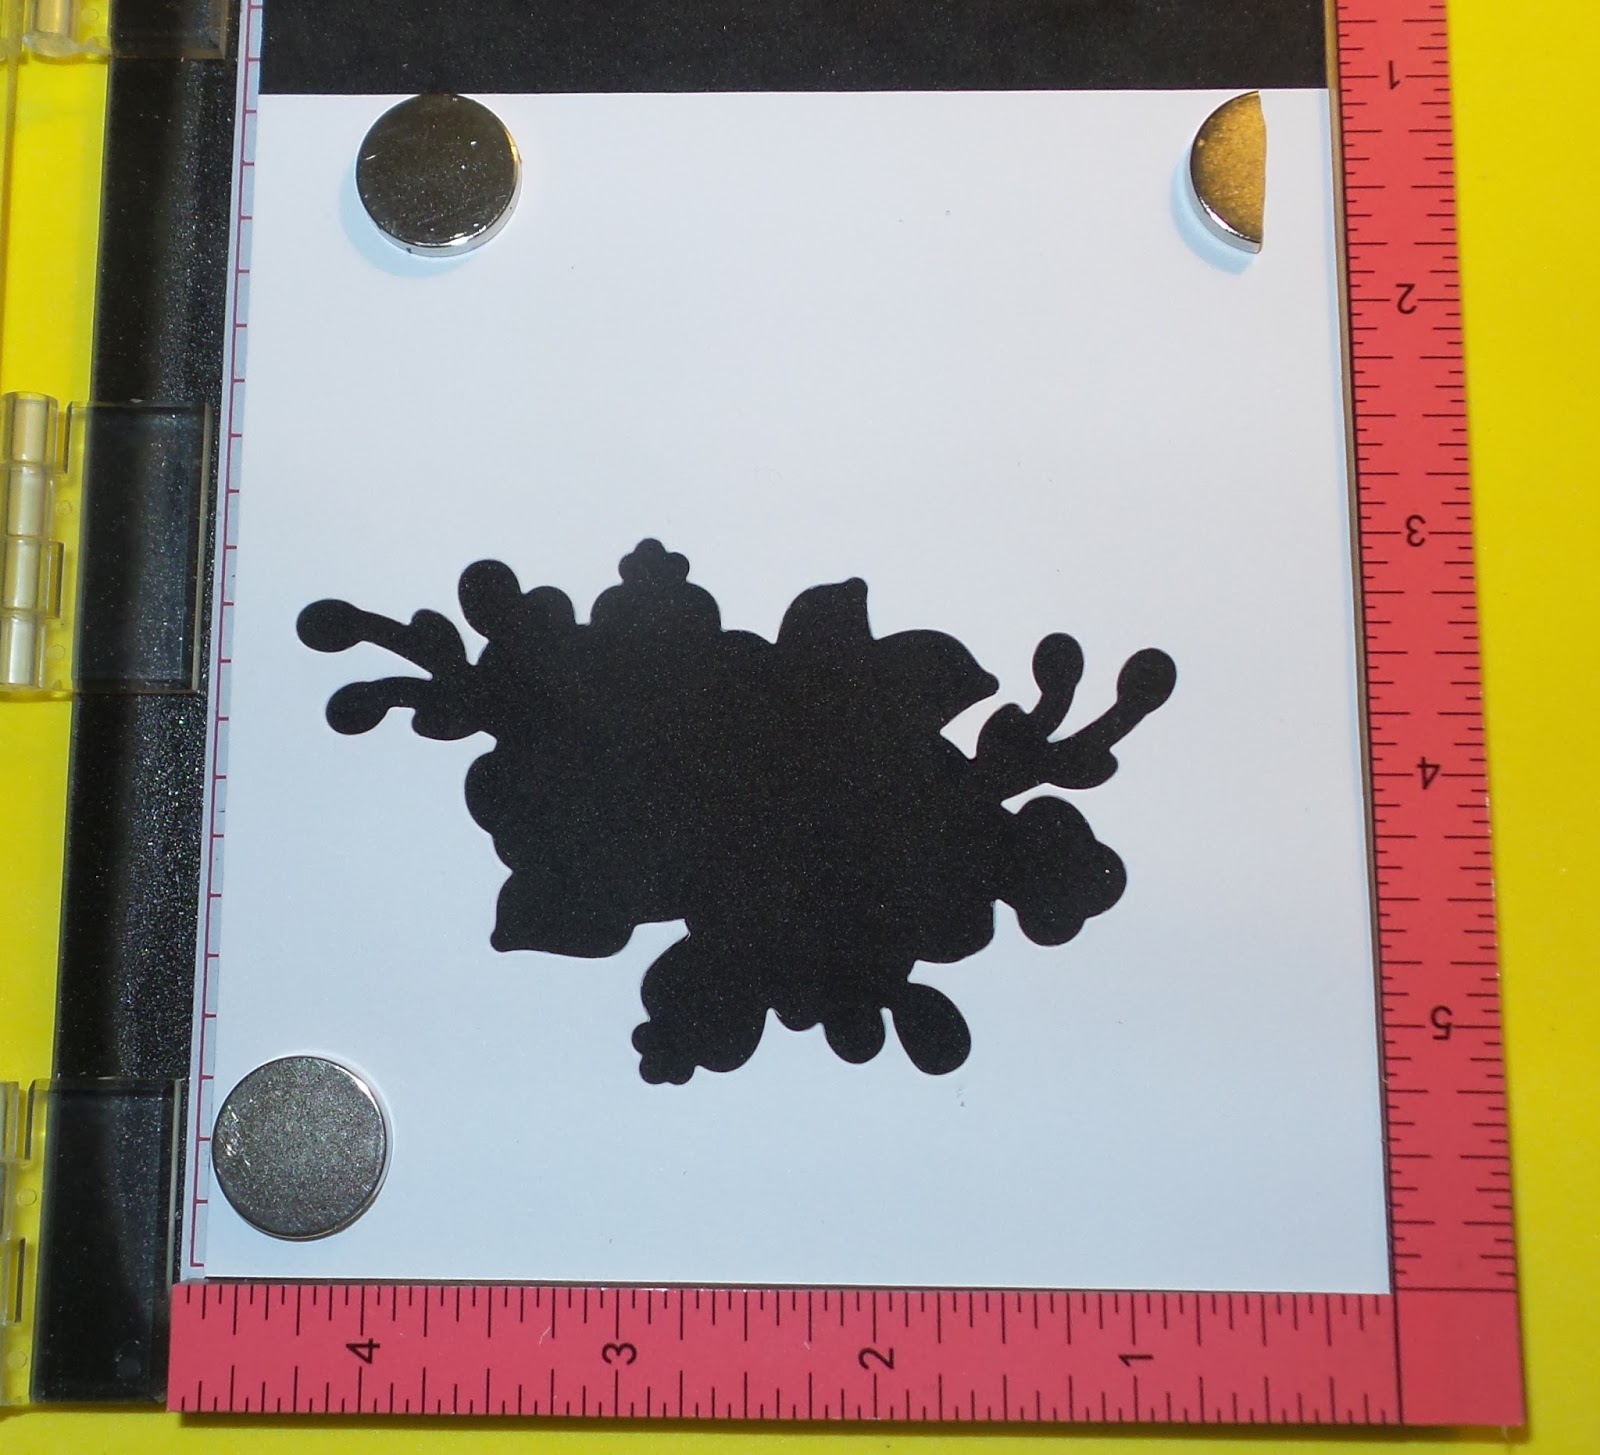
Place a "professional die cut" in the die space. Then take your first stamp and line it up with the die cut as shown.

Close the door and pick up the stamp, then place your blank die cut into the space. Now stamp the leaves using any color green.

Once again, place the professional die cut into the die space. Place the flowers onto the die cut in the proper place, ensuring that you line them up perfectly.

Now close the door, pick up the stamp, and replace the professional die cut and then stamp with your favorite flower color.

Now place the professional die cut into the space and line up the middle of the flowers. Once again, close the door, replace the professional die cut with your own die cut, and stamp.

Your own die cut should look like this:

Continue replacing your own die cut with the professional one, and continue lining your stamps up, then switch to your own and stamp.

When you are finished, you should have a perfectly stamped bouquet. I usually stamp the two little buds at the end with just an acrylic block since they are not too hard to line up.
Please let me know in the comments or on the PTI Forum if you tried this method and your experience with it. It seems time consuming, but ultimately, you can do many die cuts at a time with great success.